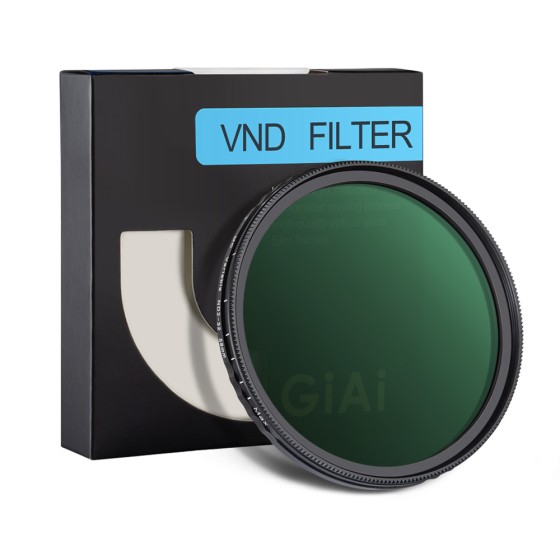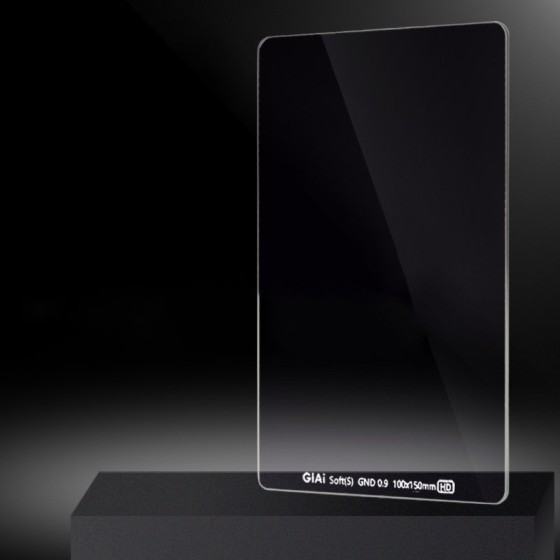
Owning more camera filters doesn’t make you more "professional"; rather, filters are tools designed to solve specific photographic challenges. Before making a purchase, ask yourself three questions: What do I primarily photograph? What specific issue am I trying to address—reflections, overexposure, the need for a softer look, or balancing light intensity? What is the filter thread diameter of my lens? Clarifying these points before deciding between a UV, CPL, ND, GND, or black-mist filter will help you avoid unnecessary spending.
I. Understanding the Four Main Categories of Filters
Protective Filters: UV / Protective Filters
In the digital age, the original purpose of a UV filter—blocking ultraviolet light—is largely redundant. Today, these filters serve primarily as "body armor" for the front element of your lens, protecting it against dust, fingerprints, and minor bumps. A good filter should not noticeably degrade image quality; therefore, avoid cheap, generic brands. Low-quality UV filters can cause lens flare and "ghosting" when shooting against the light or at night, ultimately ruining your images.
Light-Control Filters: CPL (Circular Polarizer), ND (Neutral Density), and GND (Graduated Neutral Density)
- CPL (Circular Polarizer): Used to eliminate reflections from water, glass, or foliage, while deepening blue skies and enhancing color saturation. It is an essential tool for landscape photography, though it typically reduces light by 1–2 stops. Note that when used with ultra-wide-angle lenses, it may cause uneven brightness across the sky.
- ND (Neutral Density): Think of these as "sunglasses for your lens." They reduce the amount of light entering the lens, allowing for slower shutter speeds during the day—perfect for capturing silky-smooth water, light trails from vehicles, or the movement of clouds. Common strengths include ND8 (3-stop reduction), ND64 (6-stop reduction), and ND1000 (10-stop reduction).
- GND (Graduated Neutral Density): These act as "partial sunglasses," designed to darken a bright sky while keeping the foreground properly exposed—ideal for high-contrast scenes like sunrises or sunsets. "Hard-edge" GNDs are suited for horizons (like the sea), "soft-edge" GNDs work well for landscapes with features like mountain ridges or buildings, and "reverse" GNDs are specifically designed for sunrises and sunsets where the light is brightest at the horizon.
Atmospheric Filters: Black Mist / White Mist / Star Filters
Black Mist filters soften highlights, subtly smooth the skin, and add a cinematic quality—1/8 or 1/4 strengths are commonly used for portraits. White Mist filters create a more romantic, glowing effect. Star filters turn point light sources into starbursts, which can be effective for night scenes.
Specialty Filters: Close-up (Macro), Light Pollution Reduction, Infrared, etc.
These are for niche applications; beginners can skip them for now.
II. Choosing Filters for Portraits
The core requirements for portrait photography are skin texture, highlight control, and atmosphere—not stacking every filter you own onto the lens.
- Black Mist (1/4 or 1/8): The most highly recommended atmospheric filter for portraits. It softens highlights while preserving shadow detail. It provides an "optical softening" of pores and fine lines—far more natural than digital retouching—and works exceptionally well for backlit hair highlights or urban neon backgrounds. 1/8 offers a natural look, 1/4 provides a cinematic feel, while 1/2 can easily become overdone.
- White Mist: Brighter and dreamier than Black Mist; ideal for wedding photography, children, or backlit floral shots. However, it can cause the image to look washed out or gray, so use it with care.
- CPL (Circular Polarizer): Not a primary tool for portraits, but essential when shooting near water (oceans, lakes) or through glass (like in a café)—it eliminates reflections on the subject’s face and the background water, while also deepening the blue of the sky.
- ND (Variable ND2–32 or ND64): Necessary for outdoor portraiture with wide apertures. For example, if you’re shooting at f/1.4 at noon, your shutter speed might exceed the camera's limit; an ND filter allows you to maintain a wide aperture without overexposing the shot. They are also vital for video, helping to lock the shutter speed at 1/50s.
- UV/Protective Filters: Used to shield the lens from bumps and scratches. Avoid cheap, low-quality filters, as they can degrade image sharpness.
The Essential Portrait Kit: A UV filter plus a 1/4 Black Mist filter (suitable for both indoor and outdoor use). If you frequently shoot outdoors with wide apertures, add a variable ND filter.
III. Choosing Filters for Landscapes
Landscape photography centers on three key elements: managing reflections, controlling light ratios, and using long exposures.
- CPL (Circular Polarizer): The first filter any landscape photographer should buy. Capturing underwater reefs in lakes or oceans, the damp texture of rocks near waterfalls, the glossy sheen of forest foliage, or controlling reflections on wet roads during rain—these are effects that are difficult to fully replicate in post-processing.
- ND64: The go-to filter for water scenes. During dawn or dusk, it allows you to extend a 1/125s shutter speed to around 0.5s, creating a silky, flowing effect for streams. At midday, use an ND1000 with a tripod to render the surface of the sea as a smooth, misty blur.
- ND1000: Designed specifically for long exposures in bright light. Always compose your shot and focus *before* attaching the filter; otherwise, the viewfinder will be completely black, making it impossible to work.
- GND 0.9 (Soft/Hard Edge): Essential for high-contrast scenes like sunrises or sunsets, providing a cleaner result than artificially lifting shadows in post-production. Use a hard-edge filter for horizons (like the sea) and a soft-edge filter for landscapes featuring mountains or architecture.
- Star Filter: Used for creating starburst effects on streetlights at night, adding flair to the foreground of star-trail shots, or enhancing the sun when shooting into the light. These are more for creative play than essential requirements.
The "Minimalist" Landscape Kit: A CPL and an ND64 will cover 80% of travel photography scenarios. For serious sunrise/sunset shooting, add a 0.9 soft-edge GND. If you specialize in waterfalls or misty seascapes, add an ND1000 and a tripod.
IV. Pitfalls: Filter Diameters, Systems, and Stacking
- Match the filter diameter to your largest lens: If you own lenses with both 67mm and 77mm filter threads, buy 77mm filters along with a 67mm-to-77mm step-up ring—it’s more cost-effective than buying two separate sets.
- Circular vs. Square Filters: Circular filters are convenient for everyday use and sufficient for CPLs, NDs, and black-mist (diffusion) filters. Square filter systems (100mm/150mm) are primarily designed for GNDs and slot-in NDs; they are expensive and cumbersome due to the required holder, so they aren't necessary unless you are a dedicated landscape photographer.
- Avoid stacking more than two filters: Combining a CPL and an ND is fine, but adding a UV filter on top often leads to vignetting, lens flare, and a loss of sharpness. Always screw your CPL directly onto the lens—never attach it on top of a UV filter.
- Evaluate coatings based on light transmission and reflection: high-quality coatings prevent green or purple "ghosting" when shooting against the light, whereas cheap filters will ruin your night shots.
- Variable ND filters come with trade-offs: while convenient, they are prone to "cross-pattern" dark artifacts and color shifts at higher density settings; fixed-stop ND filters offer more consistent image quality.
V. Recommended Setups by Subject
- Everyday/General Use: UV protection filter (a single one suffices).
- Portraits/Weddings/Street Photography: Black Mist 1/4 + UV; for outdoor shooting with wide apertures, add a variable ND filter.
- Travel/Landscapes: CPL + ND64; for sunrise/sunset, add a soft-edge GND 0.9.
- Waterfalls/Seascapes: CPL + ND1000 + Tripod.
- Night Cityscapes: Black Mist 1/8 or a star filter; use a CPL to eliminate reflections on glass.
- Vlogging/Video: Variable ND (ND2–32) + CPL; ensure your shutter speed is set according to your frame rate (the "180-degree shutter rule").
The core purpose of filters is to "refine the light during capture so you have less work to do in post-production." Don't get swayed by marketing bundles—prioritize your purchases: start with a Black Mist filter for portraits, a CPL for landscapes, an ND filter for long exposures, and a GND filter for high-contrast scenes. Following this four-step approach is far more practical than hoarding an entire box of filters.